
Tourniquet: Stop bleeding after a gunshot wound
Tourniquets are very important devices for emergency services, in particular in situations where wounds are critical and can cause death. Their action is specific to stop the bleed and permit first responders and paramedics to intervene immediately without complications.
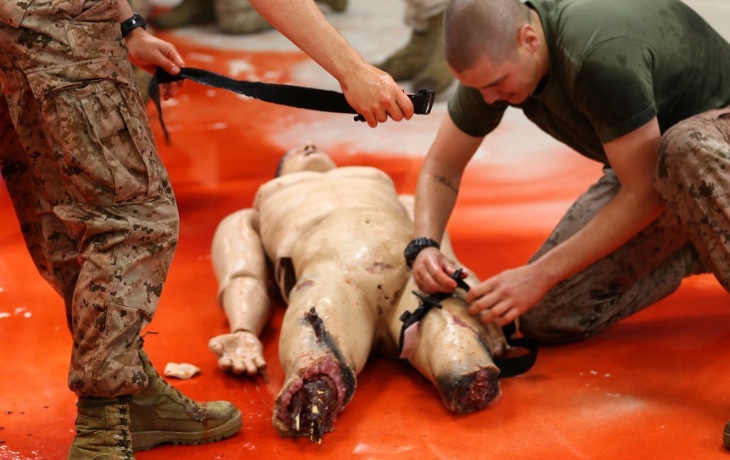
Life-threatening situations may arise out of anywhere, especially during times when gun violence cases are rising in numbers day by day. While there are measures to keep oneself and the loved ones safe from the potential threat of being shot, sometimes the inevitable happens. This article will address how to use a tourniquet to help stop bleeding after a gunshot wound.
What are tourniquets?
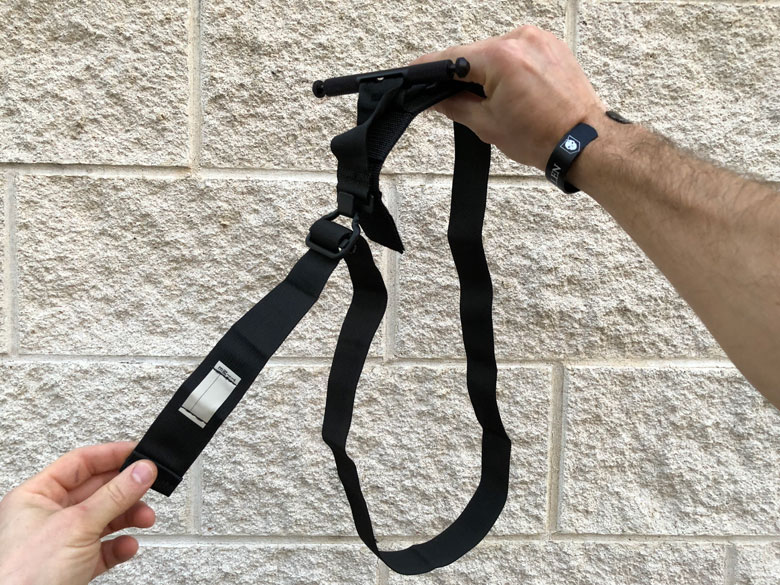
A tourniquet is a tight band used to be tied on the arm or leg of a person afflicted with a wound such as a gunshot wound to stop them from bleeding out. It cannot be used for the head or torso. Ideally, it is to be used only by medical practitioners and emergency responders because of the complications it can bring is not done properly. Only in life or death situations is a tourniquet recommended since it can cause significant tissue damage even when done right. The tourniquet applies pressure and stops the blood flow to the injured limb until the person can receive emergency medical assistance as soon as possible.
A tourniquet is commercially available, but during times of emergency, if you don’t have access to one, you will have to improvise with a triangular bandage or material and something to use as windlass, such as a stick. Other items that can be used include belts, towels or shirts.
Applying a Tourniquet:
1) Find the source
The first step is finding the source of the bleeding.
2) Press
Apply pressure to the wound to control the bleeding. The process is extremely painful but it will save their life.
3) Application

Cut open or tear any clothing that interferes as a tourniquet needs to be applied on bare skin.
4) The joints
Position the cloth, towel, shirt or belt few inches above the wound; choose a spot that is the closest to the heart. If the injury is below the knee or elbow, position it above the joint and use a common square knot to tie the material.
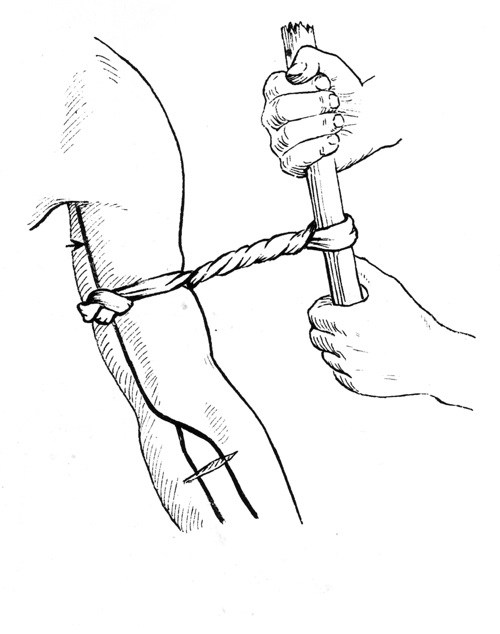
5) The windlass or something similar
Add a stick or material strong enough to substitute a windlass such as pens, pencils, spoons or metal sticks. Place this windlass on the knot you made and tie the loose ends of the knot to the windlass.
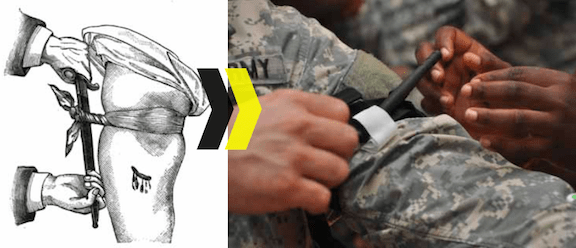
6) Twisting
Now begin twisting the windlass to increase the amount of pressure. This is a very painful procedure for the injured and it would be advisable to make them bite down on a piece of wood or leather to avoid biting their tongue.
7) Keep turning
Keep turning the windlass till the bleeding either slows or stops completely.
8) Fix the tourniquet
Once the bleeding stops secure the windlass by tying it to the patient’s body and write the time at which it was administered.
How a tourniquet works:
A tourniquet is a tool that applies pressure above a wound to a spot closest to the patient’s heart. When the windlass is turned, it cuts off the flow of blood to that particular appendage and can save the life of a person from bleeding to death.