
What is intravenous Cannulation (IV)? The 15 steps of the procedure
Insertion of an intravenous (IV) cannula involves connecting a tube into a patient’s vein so that infusions can be inserted directly into the patient’s bloodstream
Cannulas (also known as venflons) are available in various colours, each of which correspond to the size of the tube.
The required size depends on:
- What will be infused, for example: colloid, crystalloid, blood products or medications.
- Or, at the rate the infusion is to run.
In addition, the patients veins may dictate the size to use, for example you may only be able to insert a blue (small) cannula into an elderly patient’s vein.
This is a core clinical skill to know.
![]() Insertion of an intravenous (IV) cannula: Procedure Steps
Insertion of an intravenous (IV) cannula: Procedure Steps
Step 01
Introduce yourself to the patient and clarify the patient’s identity.
Explain the procedure to the patient and gain informed consent to continue.
Inform that cannulation may cause some discomfort but that it will be short lived.
Step 02
Ensure that you have all of your equipment ready as follows:
- Alcohol cleanser.
- Gloves.
- An alcohol wipe.
- A disposable tourniquet.
- An IV cannula.
- A suitable plaster.
- A syringe.
- Saline.
- A clinical waste bin.
Step 03
Sanitise your hands using alcohol cleanser.
Step 04
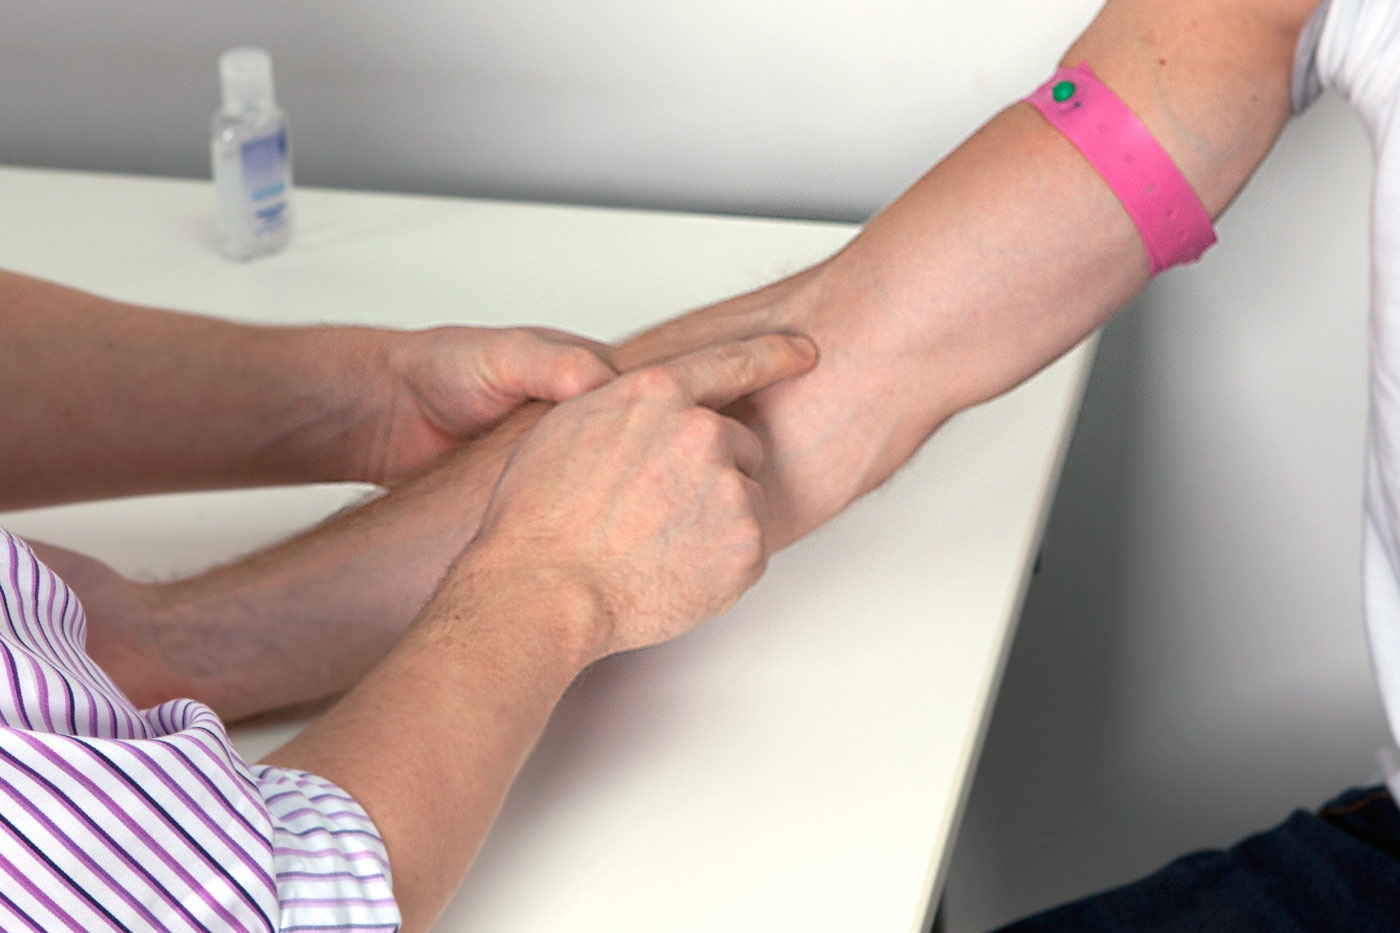
Position the arm so that it is comfortable for the patient and identify a vein.
Step 05
Apply the tourniquet and re-check the vein.
Step 06
Put on your gloves, clean the patient’s skin with the alcohol wipe and let it dry.
Step 07
Remove the cannula from its packaging and remove the needle cover ensuring not to touch the needle.
Step 08
Stretch the skin distally and inform the patient that they should expect a sharp scratch.

Step 09
Insert the needle, bevel upwards at about 30 degrees.
Advance the needle until a flashback of blood is seen in the hub at the back of the cannula

Step 10
Once the flashback of blood is seen, progress the entire cannula a further 2mm, then fix the needle, advancing the rest of the cannula into the vein.
Step 11
Release the tourniquet, apply pressure to the vein at the tip of the cannula and remove the needle fully.
Remove the cap from the needle and put this on the end of the cannula.
Step 12
Carefully dispose of the needle into the sharps bin.
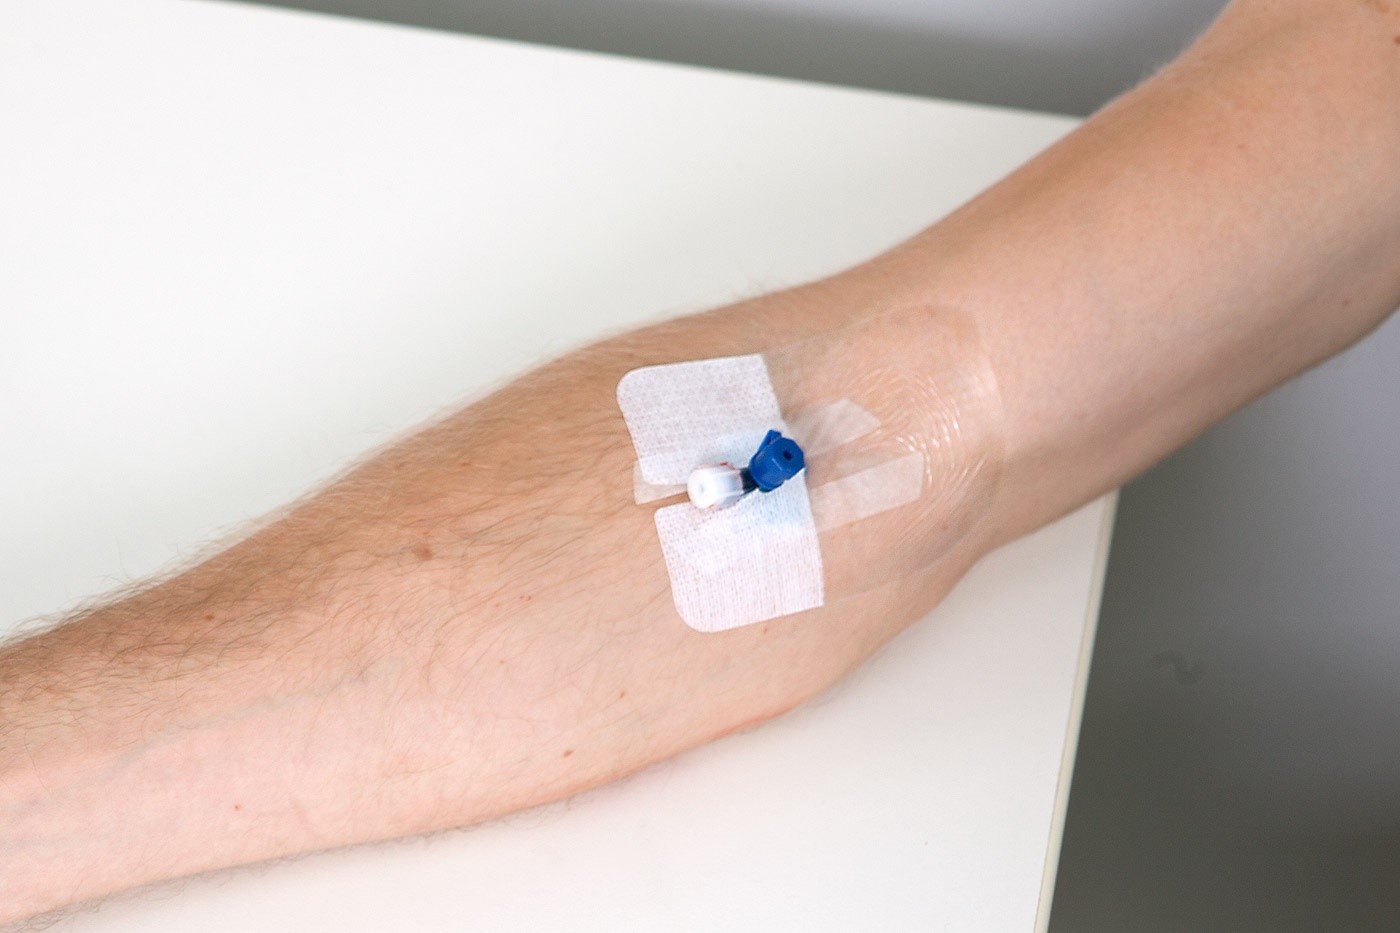
Step 13
Apply the dressing to the cannula to fix it in place and ensure that the date sticker has been completed and applied.
Step 14
Check that the use-by date on the saline has not passed.
If the date is ok, fill the syringe with saline and flush it through the cannula to check for patency.
If there is any resistance, or if it causes any pain, or you notice any localised tissue swelling: immediately stop flushing, remove the cannula and start again.
Step 15
Dispose of your gloves and equipment in the clinical waste bin, ensure the patient is comfortable and thank them.
An extension to this procedure may to set up an IV drip.
Read Also:
Emergency Live Even More…Live: Download The New Free App Of Your Newspaper For IOS And Android
Venous Thrombosis: From Symptoms To New Drugs